What you'll learn 👉
Coinbase to MetaMask
When it comes to purchasing cryptocurrencies as a beginner, Coinbase comes to mind. It is the biggest crypto exchange out there and is perfectly suited for new investors. They offer to trade on a range of different cryptocurrencies and are constantly expanding. Apart from somewhat high fees, they are a perfect platform for beginners.
Create account on Coinbase
Creating an account on Coinbase is fairly simple. All you have to do is supply your name, email address, and password and you are good to go! (Please note that you need to be 18 to create a Coinbase account).
Verify it
Next, we have verification. Due to KYC legislation (Know Your Customer), all users of Coinbase are required to input certain documents and information about themselves in order to verify their age, identity, and more. These rules and regulations are in order to keep the customer safe and to prevent criminal activity.
You will need to provide Coinbase with a picture of you holding up a picture of your Government Issued ID. In most countries around the world, you will be able to use a driver’s license, a passport or another form of ID though for customers in the United States this is not the case. US customers will be required to provide a picture of an ID other than their passport, medical card, or a military ID.
Buy crypto on Coinbase
Buying Ethereum on Coinbase is a very easy process. Simply navigate to the “Buy” button on the screen, then select “Ethereum”. You then want to purchase your Ethereum, simply select the currency you are using to purchase the coin, and then how much you want to purchase. On Coinbase you can purchase your coins with a bank transfer, or a credit/debit card. US customers can also use Apple Pay to buy their crypto.
It is worth noting that Coinbase charges substantial fees on their cryptocurrency, so you might want to factor this into how much you buy. Especially with the Ethereum network fees on top of this.
Go to MetaMask
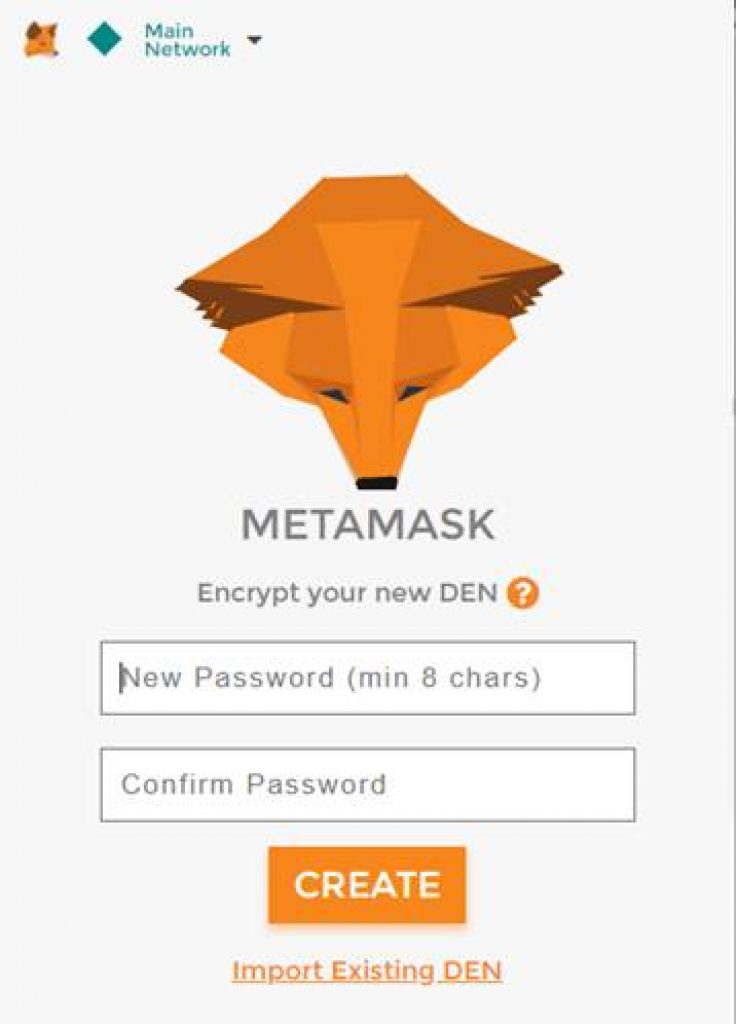
Now all you need to do is login to your MetaMask. If you have not made one yet you simply download the google chrome addon, and create an account, this will create your Ethereum wallet for ETH and other ERC20 tokens.
Create and Copy your ETH address
Now the public key we need to receive the ETH can be found on your Metamask. Simply login with your password, then you should see the title “MetaMask” at the top of the screen, with a number underneath, starting with “0x…”, this is your public key. Click on the number and it will copy the address to your clipboard.
Paste it on Coinbase send/withdrawal tab
Next you want to send your Ethereum to your MetaMask which is very easy to do. You first want to navigate to the “Withdraw” page on Coinbase. Next, you want to select Ethereum, and you will be presented with a box to input the public key of your MetaMask wallet.
Paste the number you copied from the MetaMask wallet in to your Coinbase withdrawal section in the wallet receiving address part. MAKE SURE THEY ARE THE SAME ADDRESS; YOU WILL NOT BE ABLE TO GET YOUR FUNDS BACK OTHERWISE.
ETH transactions generally last from around 3-15 minutes, though have in some rare cases lasted up to 5 hours. Keep this in mind when waiting for your funds to transfer.
Binance to MetaMask
Binance is a bit different to Coinbase In that is treated more of a trading platform rather than a purchasing platform, Binance lets you exchange hundreds if not thousands of different tokens, including Ethereum.
A lot of people prefer Binance over Coinbase due to their lower fees.
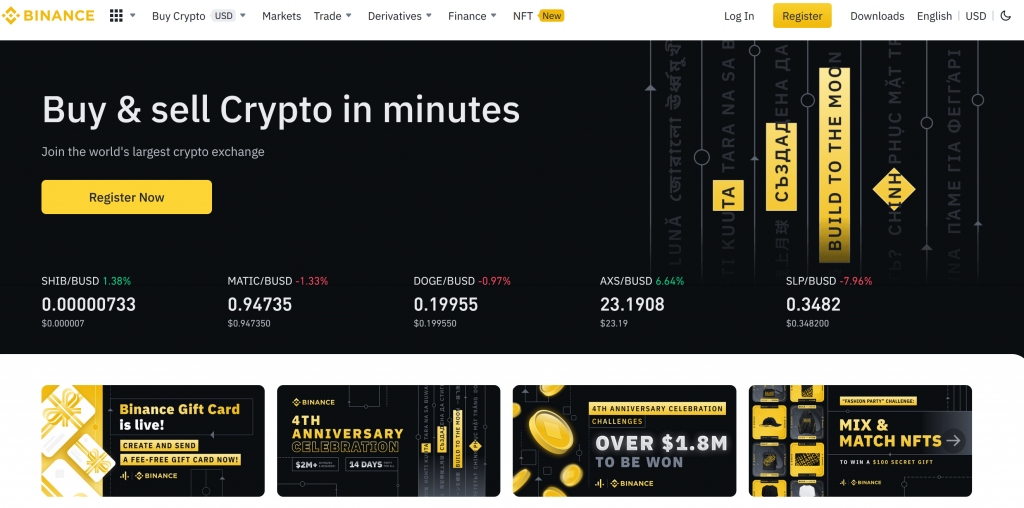
Create account on Binance
On Binance you can either sign up with your email address or with a phone number. One of these and a password is all you need to make an account. Just like Coinbase, you need to be 18 in order to use Binance.
Verify it
With Binance, there are 3 different levels to verification. First, we have Basic verification. This level is quite simple and will provide you with a $300 lifetime purchase limit. For this level you only need to send in your nationality, name, date of birth and your street address.
If you are looking for a higher purchasing limit, the next step is intermediate verification. For this you need to submit a picture of your ID, Driver’s license or Passport. Not all countries can use all 3 forms of IDs, you will be shown your respective country’s options when you apply. You will also need to submit a picture of your face. Meeting these requirements will set you up with a daily transaction rate of 5,000 Euros per day.
Lastly, we have advanced verification, this requires you to submit some form of bank statement or utility bill in order to confirm your address. By submitting your address, you are eligible for a transaction limit of 50,000 Euros per day.
Buy crypto on Binance
You can buy crypto directly with fiat currency on the Binance website, they accept a vast range of currencies too. Binance accepts debit and credit cards, Banxa and Simplex.
Go to MetaMask
Now all you need to do is login to your MetaMask. If you have not made one yet you just need to download the google chrome addon, and create an account, this will create your Ethereum wallet for ETH and other ERC20 tokens.
Create and Copy your ETH address
Now the public key we need to use to receive the ETH can be found on your MetaMask. Simply login with your password, then you should see the title “MetaMask” at the top of the screen, with a number underneath, starting with “0x…”, this is your public key. Click on the number and it will copy the address to your clipboard.
Paste it on Binance withdrawal tab
Next you need to make your way to the Binance withdrawal section. Here you can paste your Metamask public address. Once you have sent the Ethereum, the transaction should generally take anywhere from 3 to 15 minutes, though in some rare cases can take a number of hours.
Direct deposit (receive) tokens to your MetaMask wallet
You don’t need to do anything to recieve the Ethereum or any other tokens to your MetaMask. Your Ethereum will show up just under the “MetaMask” title in a big font, clearly showing how much Ethereum you have, and underneath, the US Dollar value.
How To Transfer Ethereum to MetaMask / Wallet Security
Make sure that when you transfer your Ethereum to Metamask that the address you have pasted into the withdrawal box matches the one you copied from your MetaMask wallet. If these fail to match it means your coins will be sent to a wallet that is not yours and will therefore be unretrievable. Make sure to write down your MetaMask seed phrase to ensure that you always have access to your coins and that nobody else does.
How to transfer Ethereum to a MetaMask ERC20 wallet?
An ERC20 Wallet is a wallet that accepts tokens on the ERC20 Ethereum Blockchain. This means that you can send Ethereum to any ERC20 Wallet as itself is on the Ethereum Blockchain.
How to keep your wallet secure?
In order to keep your wallet secure, you need to make absolutely sure that your 12-word seed phrase is safe. The best way to do this is to write it down on a piece of paper and keep it hidden. This seed phrase is needed should you lose access to your account, otherwise you will never be able to retrieve your coins. It is also worthwhile setting up a strong password, just as an extra level of security.
If you are keeping your coins on either Coinbase or Binance, make sure to enable 2 factor authentication, it only takes a few minutes, though it provides a great layer of protection for your account You can add this feature in the security menu.
Read also:
- Best crypto cold storage wallets
- Best bitcoin wallets
- Metamask Review
- Coinbase vs Binance
- Best cryptocurrency wallets
- How to buy Ethereum?


