Opolo Wallet Review – How Safe Is This Hardware Wallet?

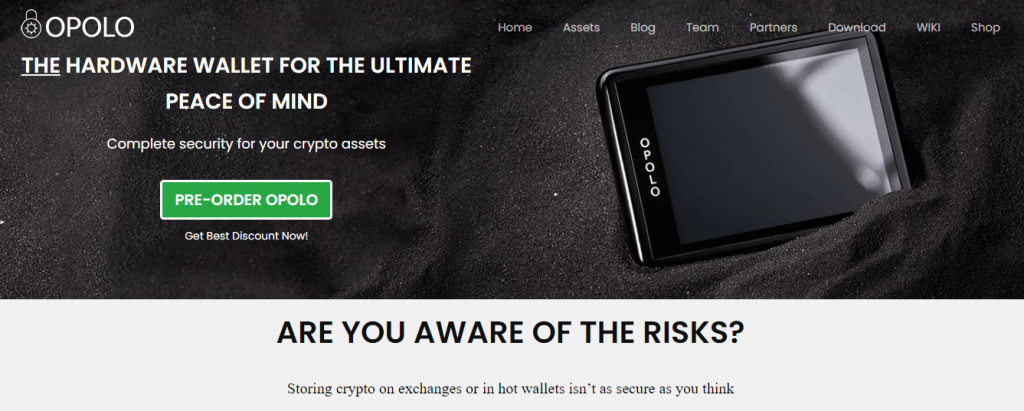
It’s common knowledge that storing crypto on exchanges and a hot wallet is not as secure as storing in cold wallets. However, this cold wallet can be daunting for beginners. OPOLO has tried to make a wallet that is a lot more convenient than the others and also claims to be the most secure one out there. In this review let’s take a look at the OPOLO Cosmos hardware wallet.
What you'll learn 👉
OPOLO Hardware Wallet Key Features
OPOLO hardware wallet is a bit different from others out there. Here are the features that make it stand out.
- The OPOLO hardware wallet has the most secure Secure Element chip currently available. It has EAL6+ certification.
- It is one of the first wallets to be externally audited by Digital Security Paris, France.
- It has a large 3.2 inch TFT touch screen providing a convenient way to enter passwords and passphrases.
- Those passwords and passphrases can be up to 120 characters long.
- Supports over 120 coins and 200,000 tokens.
- Single user-friendly app for all those crypto assets.
- Crypto-to-crypto and fiat-to-crypto exchange built-in.
- Secure Password Manager to store passwords and 2fa keys.
- End-to-end encrypted USB communication between the wallet and the desktop or mobile app.
- Application available for Windows, Mac OS, Linux and Android.
- Uses special OPOLO shards backups for storing a backup of mnemonic.
Price
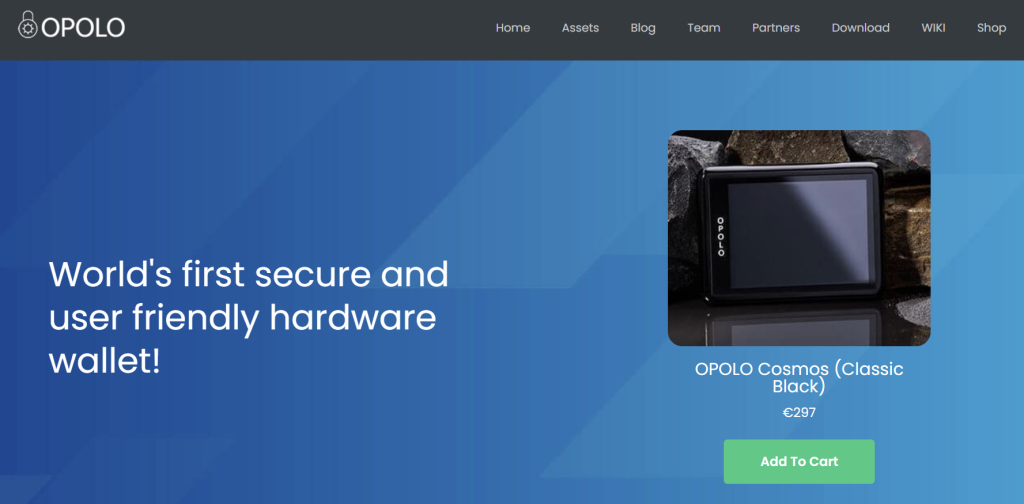
As of writing this, OPOLO wallet is available for preorder for €199. Bundle packs are also available at a discount.
OPOLO Hardware Wallet Specifications
Secure Element: CC EAL6+ certified, manufactured by NXP
Dimensions: 89.2 mm X 66.4 mm X 9.5 mm
Connection: USB Type C (V0), USB Micro (V1)
Touch display: 79 mm X 56 mm
Weight: 79 grams
CPU: Embedded ARM Processor (CORTEX- M4)
EAL6+ and IOT Secure Label Certification
The Evaluation Assurance Level (EAL) of a product (ranging from 1 through 7) is a grade assigned after it has gone through a Common Criteria security evaluation, a higher number providing higher confidence in that product.
EAL1 gives the confidence of the device being functional and is applicable where threats to security are not viewed as serious, while EAL7 is applicable only in extremely high-risk situations.
OPOLO has an EAL6+ certification level for both hardware and software which makes it unique in the market, as it is the first hardware cryptocurrency wallet to receive EAL6+ certification.
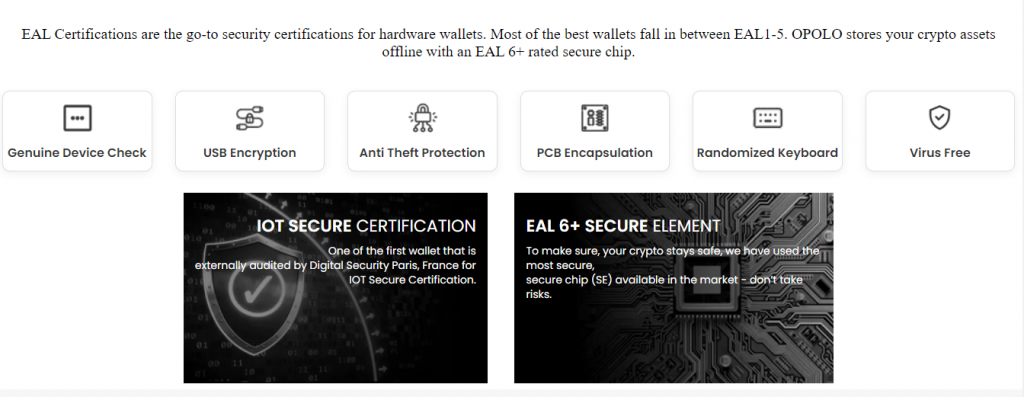
In addition to that, OPOLO is one of the first wallets to be audited by Digital Security Paris, France for the IOT Secure Label Certification.
Ledger, a popular hardware wallet comes close but is still behind with its EAL5+ certification and Trezor, another popular wallet isn’t certified, as it lacks a Secure Element chip.
The Secure Element (SE)
Secure Element is a special type of chip that is protected from unauthorized access and runs a limited set of applications. It has restricted access and is also used to store confidential and cryptographic data. These chips are used in credit cards and passports to secure them from data leaks.
The same type of chip is used in OPOLO to keep the coins secure. It uses a Secure Element chip manufactured by NXP that has an EAL6+ rating making it one of the most secure wallets available today.
Secure Passphrase/Password
If you are looking into hardware wallets, you probably know a thing or two about online security and if you do, you know one thing that often comes around: Strong passwords. Your passwords should be long and hard to guess because they play an important role in stopping intruders right in their path. So how long the passwords should be? The longer the better.
Few things need that extra bit of security and money is one of them. Knowing this, OPOLO made it possible to have passwords and passphrases as long as 120 characters.
Moreover, the password is only stored in the Secure Element and the passphrase is not saved on the device. If that is not enough, there are only 7 chances to enter them correctly and after exhausting that limit, the device wipes and locks itself. At that point, you can only restore your wallet on a new device. (The counter does reset every time the correct password/passphrase is entered.)
Talking about restoring, OPOLO has an interesting way of backing up and restoring the mnemonic phrase using the included magnetic cards apart from the usual way of noting down the 24 words.
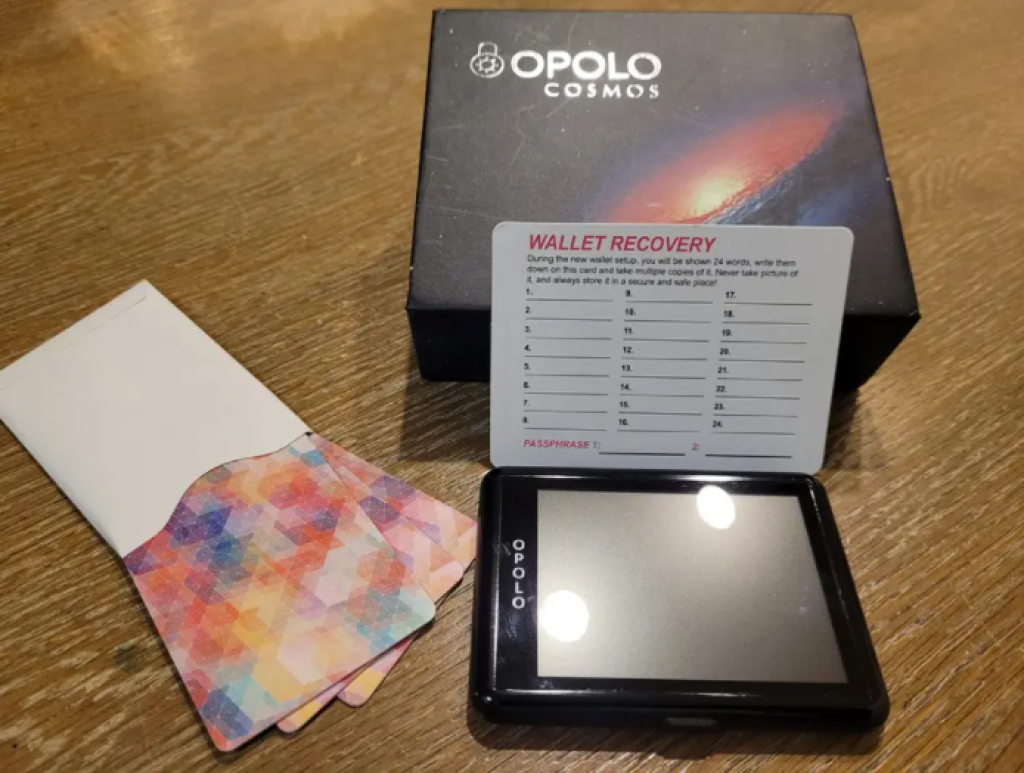
Note that you should not rely only on the magnetic card and note down the 24 words somewhere safe. Also, the security of magnetic cards and the piece of paper (or whatever you used) you wrote your mnemonic onto is your responsibility.
Large touch-Screen
Many hardware wallets currently on the market have diminutively tiny screens that make them cumbersome to use. OPOLO on the other hand has a large 3.2 inch TFT screen that makes reading things on the screen a breeze.
It gives the device an appearance of a small smartphone which makes it a lot less terrifying — looking at you Coldcard! The screen is large enough to even display a QR code for wallet addresses.
Moreover, that screen is a touch screen allowing for easy entry of passwords and passphrases. It’s great they thought of this otherwise entering long 120 character passwords would be very difficult.
Entering passwords on the device itself also means you don’t need to type sensitive information on your computer or phone, which adds to the security because there is a chance of them being infected with malware. Another great thing is that the keyboard layout is always randomized to protect against the attempts of getting data by modifying the touch panel.
120+ Coins and 200,000+ Tokens
At the time of writing this, OPOLO supports 126 coins and 283,263 tokens with support coming for more in the future. Unless you are a Bitcoin maximalist or Doge moon boy who holds only one cryptocurrency, this is a great feature to have because let’s be honest, most of us hold several coins.
OPOLO has also made it very simple to manage all those crypto assets. Unlike most other wallets that require different plugins and apps to get access to all the crypto assets, OPOLO requires a single app that can be installed on a desktop or Android.
This also helps in security, as users are less likely to download something from untrusted sources. And let’s not even talk about wasting time downloading all those plugins.
The OPOLO Team
- Fahad Fazal is the founder and CEO of OPOLO who also happens to be a crypto HODLer. He is a serial entrepreneur and technologist and completed his PhD in Artificial Intelligence and Neural Networks from the University of Oslo in the year 2011. He has been a blockchain advisor and ICO advisor for several projects over the past several years and also has experience in website development and developing iOS, Android and HTML5 apps.
- Julien Vanel is the co-founder of OPOLO Crypto Wallet and the current CSO of the company. He has been in IT for more than 20 years now, working in various support and security fields in the finance, military, industry and services sectors. He has been in the cryptosphere since 2018; curious about Blockchains, DeFi, and the new way of finance.

OPOLO Hardware Wallet Applications
OPOLO’s OPOLO Desk application has a well designed intuitive interface and allows easy and seamless interaction with the hardware crypto wallet once the crypto wallet is connected via USB. This application is required to perform most of the tasks like creating crypto wallet, managing assets, updating firmware and restoring backups. There are also exchanges integrated into the application, allowing for easy purchasing, selling and exchanging of supported cryptos.
The OPOLO Desk application can be downloaded from OPOLO’s website. It is available for desktop computers running Windows (64-bit), Linux (64-bit), and MacOS (Sierra 10.10 and above). Android users can also download the app from the Play Store. However, there is no iOS app available at the moment.
There’s also a secure password manager that makes it easier to store passwords and 2fa keys.
OPOLO Hardware Crypto Wallet Setup
Upon receiving your OPOLO Cosmos, the first thing you are going to do is unbox it. Here are the things you can expect inside of the box:
- The hardware wallet itself.
- A USB cable for desktop connection.
- 2× USB connectors for Mobile
- 1 OPOLO Card to take the seed/mnemonics backup.
- 1 Paper backup card.
Once you are done unboxing, follow the steps to set it up for the first time:
- Use the USB cable provided to connect your wallet to a computer.
- You’ll be presented with a screen asking you to set up a password. Press „Yes“.
- Once you press „Yes“, you will be taken to the page where you can set your password. The password can be 120 characters long, do not exceed this limit. Once you proceed, you will be asked to confirm your password.
- Upon confirming, the wallet will direct you to the authentication screen where you need to enter the password you just set to authenticate the device and log in after which you’ll be directed to download the OPOLO application.
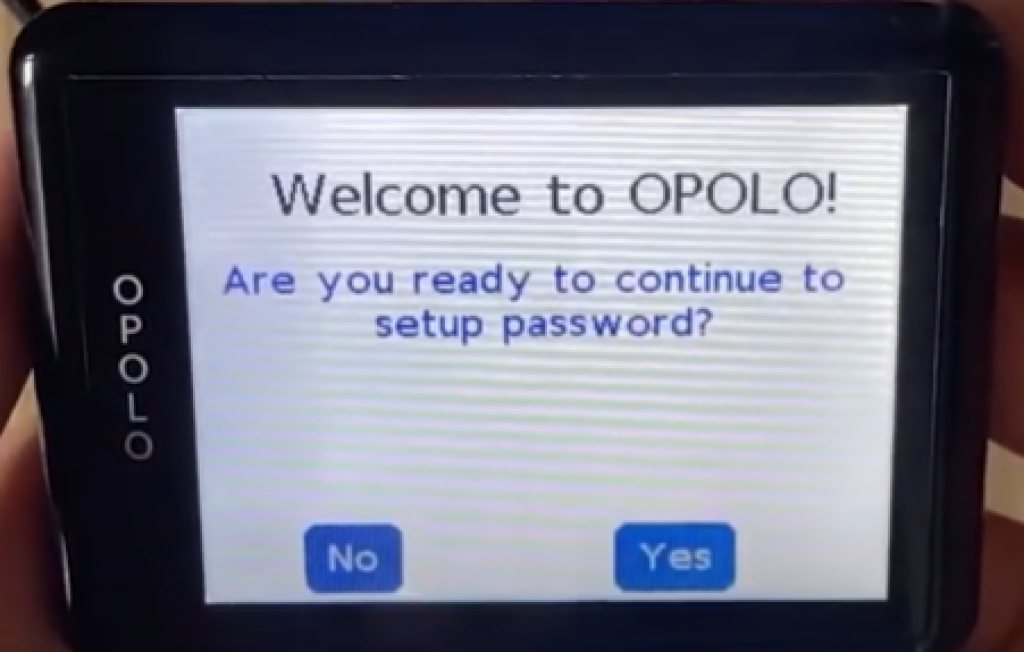
Remember: There are only 7 chances to enter the password correctly. If you exceed this limit, the wallet will remove all the data from the device and block it for further use. This is a security measure put in place to avoid the seed being stolen. The counter does, however, reset every time the correct password is entered.
Create a Wallet
Before you create a wallet, you must have set up a password for the device. If you haven’t yet set up your device, do it before proceeding. If you have already set up your password, the wallet will be asking you to download the OPOLO app.
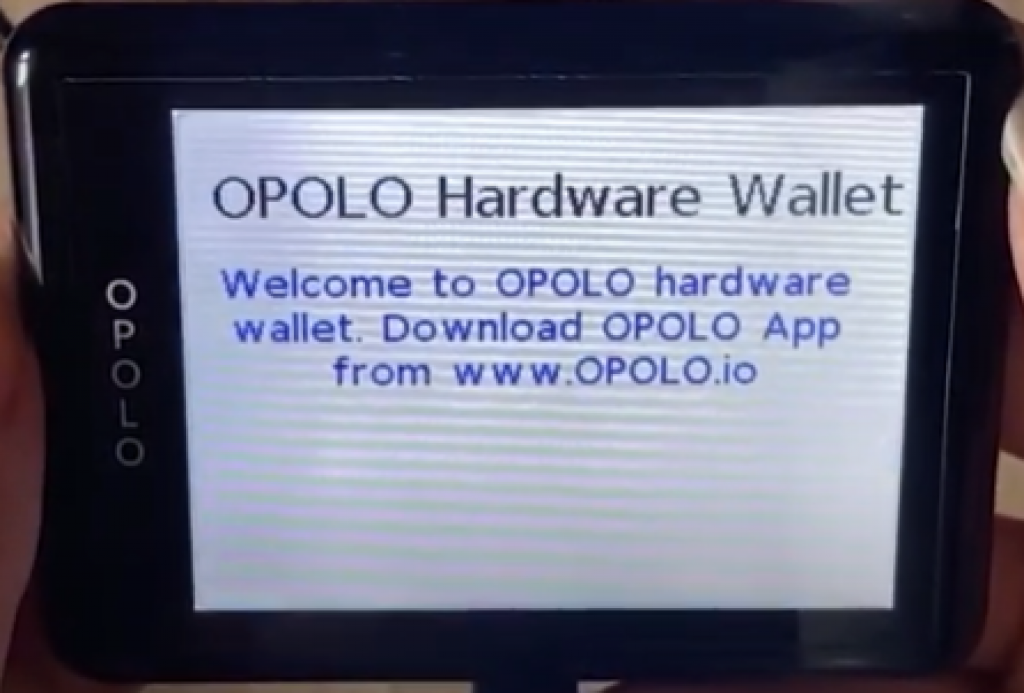
Follow the steps to proceed ahead:
- Go to OPOLO.io/download to download the latest version of OPOLO Desk for your operating system. Open the app once it is installed.
- Before you are allowed to do anything further, the wallet needs to be paired with the app. With the wallet still connected, click the „Pair USB“ button.
Note that if you disconnected your wallet from the computer after the initial setup, you’ll need to authenticate it again.
- Once you click on the „Pair USB“ button, a smaller window will appear showing the available USB devices. Select the USB with the name “OPOLOC” or “InterBiometric” and click “Connect” to pair the device. This step is critical, the device needs to be paired before any further operations can be performed.
- If the device is successfully paired, all of the options will become available. You may also get a firmware update message, update the firmware if you do get that message.
- On the settings page, press the “Create New OPOLO Wallet” button to create a new wallet. The instructions will appear on the wallet itself.
- You will be shown the 24 words BIP39 mnemonic, note them down on a paper in the exact same order and make multiple copies of it. This step is critical. The mnemonic will help you restore your wallet when you need to. If you lose this backup, you may lose all your funds.
- Once you continue, you will be asked to create an optional backup on the OPOLO Card. This makes life easier when you need to restore the OPOLO wallet, but shouldn’t be the only backup you have. You must keep mnemonic backups in case of Card failure.
- Place the OPOLO card under the device (on the backside) and press “Next”, on a successful backup, you will see a message with success. If you get a failure, readjust the position of the OPOLO Card on the backside of the device and press “Retry.” When you successfully save the mnemonics on the card, please carefully store it in a very secure location. Someone who gets the card can restore the wallet.
- Now your wallet setup is complete. Go ahead and add some coins, generate your first address, and get some funds on it.
Conclusion
Although new to the market, OPOLO seems to check some of the right boxes when it comes to hardware wallets. The EAL6+ certification, large touch screen and native integration of over 200,000 tokens managed by a single app make it an interesting option for someone in the market for hardware wallets.
FAQs
Here are answers to some of the frequently asked questions:
Read also:


